Texture in Procreate
Add Life & Character to Your Illustrations

The introduction to Texture in Procreate: Add Life & Character to Your Illustrations
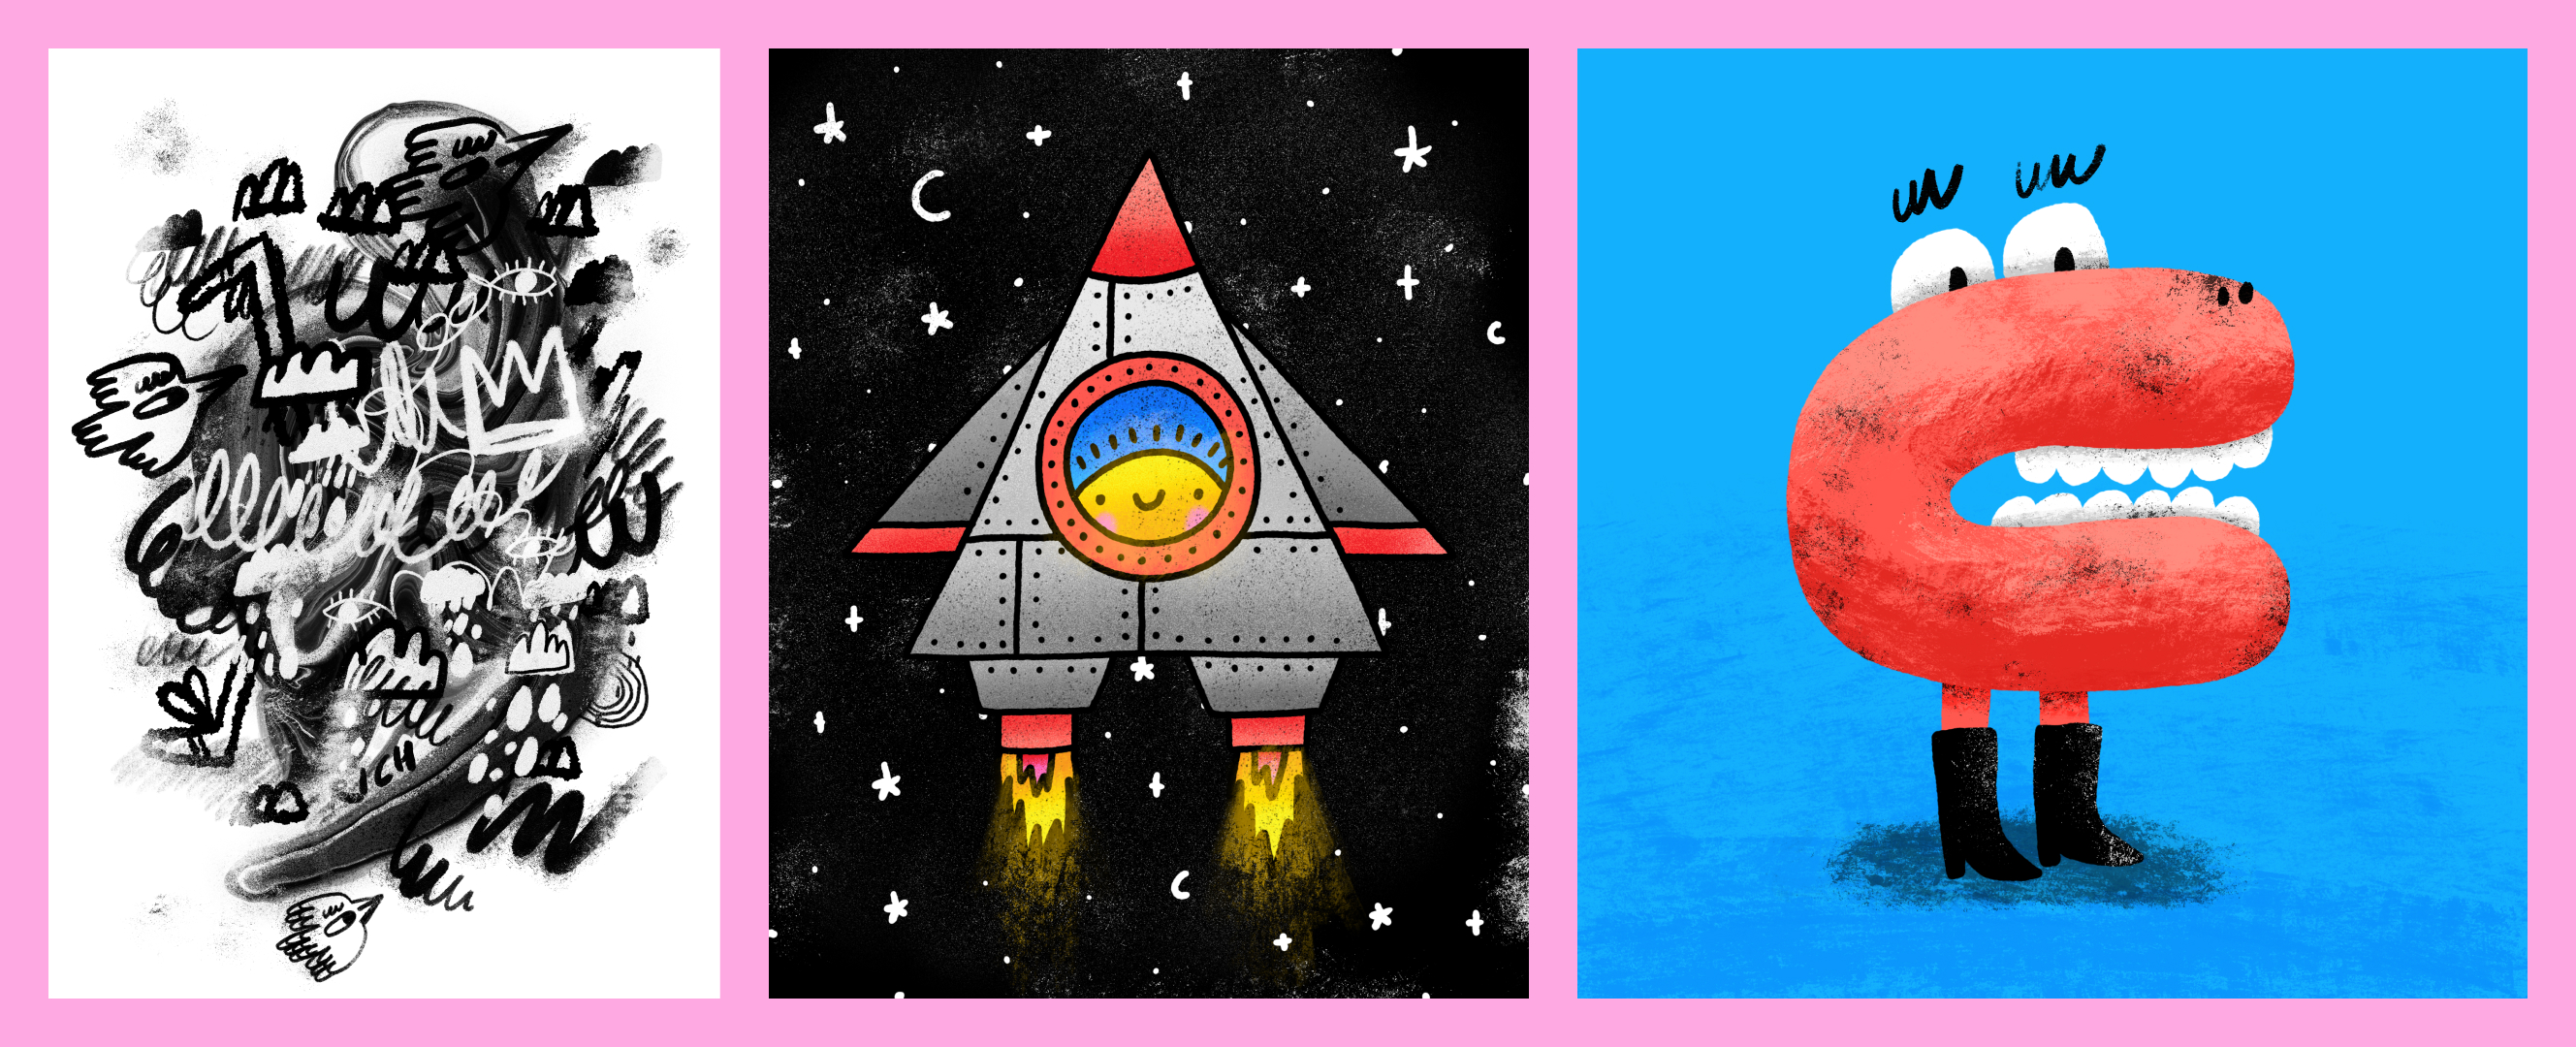
You know how you want to take your digital artwork to the next level, but not sure what’s missing? Well, this was me a few years ago. My art was flat. It wasn’t recognisable. I had no voice. And I didn’t know what was missing. It was then that I returned to the graphic design techniques I learned in university. I began experimenting with analogue processes. I began trying to make my designs and illustrations on the computer feel handmade in some way. And this began my love affair with texture. And over the last few years I’ve really found my style and voice. And a lot of it comes from how I use texture. I use textured brushes that mimic brushes in real life. I use grainy gradients. And I use gritty finishing touches. Essentially, texture brings character and life into my art.
So that’s what this class is all about—processes and techniques that add texture to your artwork. Whether its client-focused illustration work, art that goes on walls, or graphic design artwork, learning how to add texture to your work will make it warmer, richer, and full of personality.

Start to finish examples I create during the class
What do you need?
- I’ll be using Procreate on my iPad, and and Apple pencil. That being said, you can apply what you learn here to other drawing apps like Adobe Photoshop and Adobe Fresco. So, Procreate, an Apple Pencil, and even an iPad are optional.
- If you have knowledge of how to use Procreate, you’ll be able to fully take advantage of this class. If you’ve never used Procreate before, but you’re willing to give it a try, I go through the class at an easy-to-follow pace.
Here’s what we’ll cover during the class
- The basics of creating a document and my colour profile preferences.
- Exploring, duplicating, tweaking, and grouping the amazing textured brushes that come with Procreate.
- Exporting and importing brushes.
- Filling with texture in a fast and authentic way.
- Using masks, alpha locks, and clipping masks for easy texturing.
- Blend modes and a quick and easy hack to add depth and dimension to your work.
- Creating grainy gradients.
- Balancing perfection and imperfection needs with geometric shapes.
- Add shadows and dirt to your artwork.
- Adding finishing touches to your artwork—like smudges, noise, and grit and grain.
- Creating your own textured backgrounds.
- Mimicking paper, and printing on paper.
- 3 real start-to-finish examples of my own, all using texture in various ways.
You’ll also have access to all files that I use during the class including illustration ideas, a checklist of techniques and processes to try,
If you’re wanting your artwork to feel more authentic, look less digital, or if you want to explore handmade techniques without all the equipment and mess in the real world, come take this class.
Where can I take the class?
- On Gumroad. For $29.99 you can download the course and all the assets. You’ll forever have access to it, and any future updates.
- On Skillshare. With a Skillshare memerbship you can watch the class, create a project that I give you feedback on, earn a certificate of completion, and ask questions. Use this link to trial Skillshare for free. You’ll be able to watch this class and tons of others during your trial.
- On Udemy. For €29.99 you can take the class, ask me questions and receive a certificate of completion.
